
Your first scene
Draw, add a layer and a second drawing, hold it, play it, save it and export a movie.
This page takes you from an empty project to a movie file. You will draw a ball, put a second drawing on a later frame, hold the drawings, play them and export an MP4. It takes about ten minutes.
Start a project
- Open Buhayin. On the projects window choose New Project.
- Name it "Bouncing ball" and choose Create Project.
The editor opens with one layer, called Drawing. The scene runs at 24 frames a second. The projects window page explains the rest of that window.
Find your way round
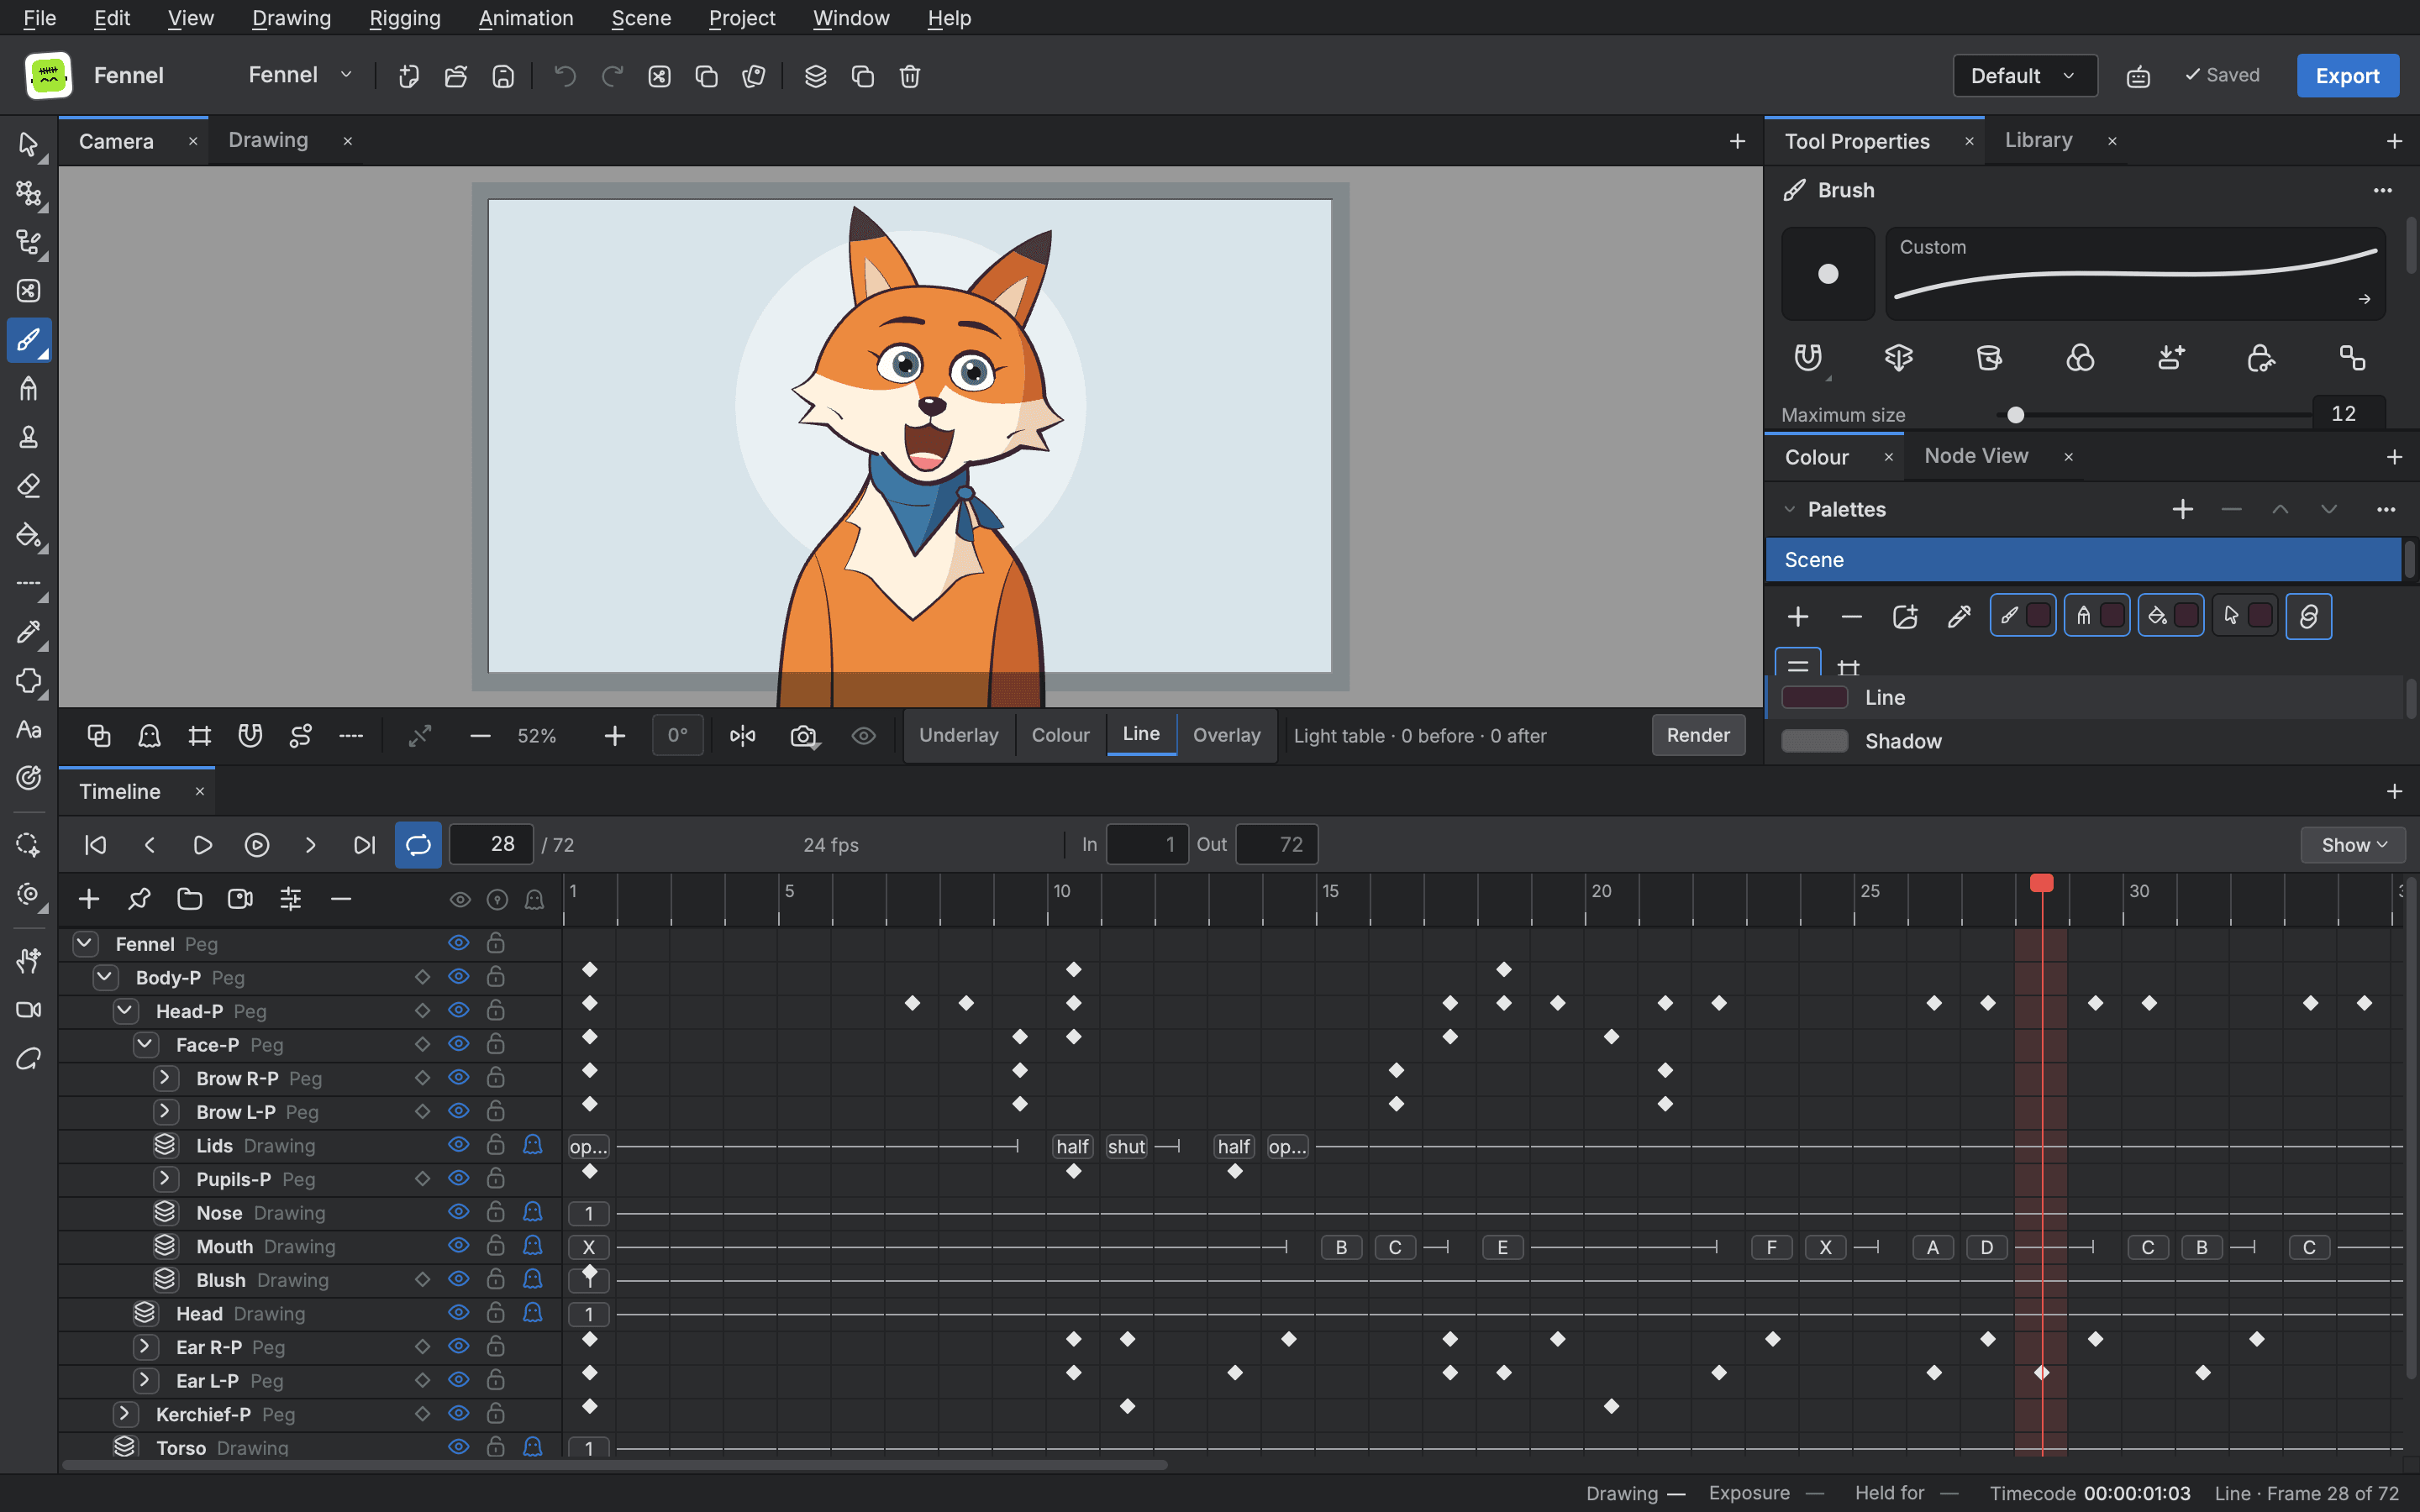
- The stage is the large picture in the middle. You draw on it.
- The tool rail is the column of tools down the side. The Brush is
B. - Tool Properties shows the settings of the tool you hold: size, smoothing and the rest.
- The Timeline is along the bottom. It has one row for each layer, one column for each frame, and the playback buttons above the rows.
Draw the first frame
- Click the first cell of the Drawing row in the Timeline. The playhead moves to frame 1.
- Choose the Brush in the tool rail, or press
B. - Draw a circle on the stage. A pen tablet gives you pressure. A mouse draws a line of even weight.
- If you do not like it, press
Cmd+Zto undo and draw it again.
A drawing on the stage belongs to the layer and the frame the playhead is on. The cell fills in on the Timeline as soon as the line is down, because drawing on an empty cell starts a drawing there.
To colour the circle in, choose the Paint tool (I), pick a colour in the Colour view and click inside the line. Drawing covers colours and palettes.
Add a second layer
A second layer lets a floor stay put while the ball changes.
- Choose Scene > Add layer (
Cmd+R). A new drawing layer appears in the Timeline. - Click its row to make it the current layer.
- Draw a floor line under the ball.
- Click the Drawing row again to go back to the ball.
Each layer has an eye to hide it and a lock to keep it from being drawn on by accident.
Add a drawing on a later frame
- Click the cell for frame 4 on the Drawing row. It is empty, because the first drawing sits on frame 1 only.
- Choose Drawing > Create Empty Drawing (
N). A new, empty drawing starts in that cell. - Draw the ball again, lower on the stage, as if it had just landed.
To check what you have, press , to step back one frame and . to step forward. Home goes to the first frame and End to the last.
To see the neighbouring drawings while you draw, turn on the onion skin with View > Onion Skins > Show Onion Skin (Alt+O).
Hold the drawings
A hold keeps one drawing on screen for several frames. Each drawing you make lasts one frame until you hold it.
- Click the cell on frame 1.
- Choose Animation > Exposure > On 3s. The first drawing now lasts three frames.
- Click the cell where the second drawing starts and choose On 3s again.
On 1s, On 2s, On 3s and On 4s hold each drawing in the selection for that many frames, which is how a lot of animation is timed. The scene grows to hold what you expose.
For another length choose Animation > Exposure > Set Exposure… and type the number of frames. To change a hold by one frame, click a cell inside it and press + for Hold Longer or - for Hold Shorter. The cells after the hold move with it.
Play it
- Press
Space. Animation > Play starts the playback and the same key pauses it. - To repeat the scene, turn on Animation > Loop.
- Press
Spaceagain to stop.
The playback buttons above the Timeline rows do the same.
Save
Choose File > Save (Cmd+S). The editor bar shows Saved once your work is on disk.
Buhayin also keeps recovery copies while you work. If it closes unexpectedly it offers them back the next time you open the scene. See Troubleshooting.
Export a movie
- Choose File > Export… (
Cmd+Shift+E), or choose the blue Export button in the editor bar. - In the Targets list, choose Quick export.
- Set Format to MP4 · H.264.
- Leave Frames on the scene's range, or choose another.
- Choose Export.
- Pick where to save the file. The save window opens in your Downloads folder with a name already filled in.
The dialog shows its progress as "Frame 3 of 48" and tells you when the file is written. The exporting page lists every format and every field.
Where to go next
- Drawing for brushes, pencils, colour and layers.
- The Timeline and the Xsheet for timing.
- Rigging a cut out character when you want a character to move without redrawing it.