
Drawing
Brush, Pencil, Eraser and Paint, colours and palettes, vector and bitmap layers, onion skin.
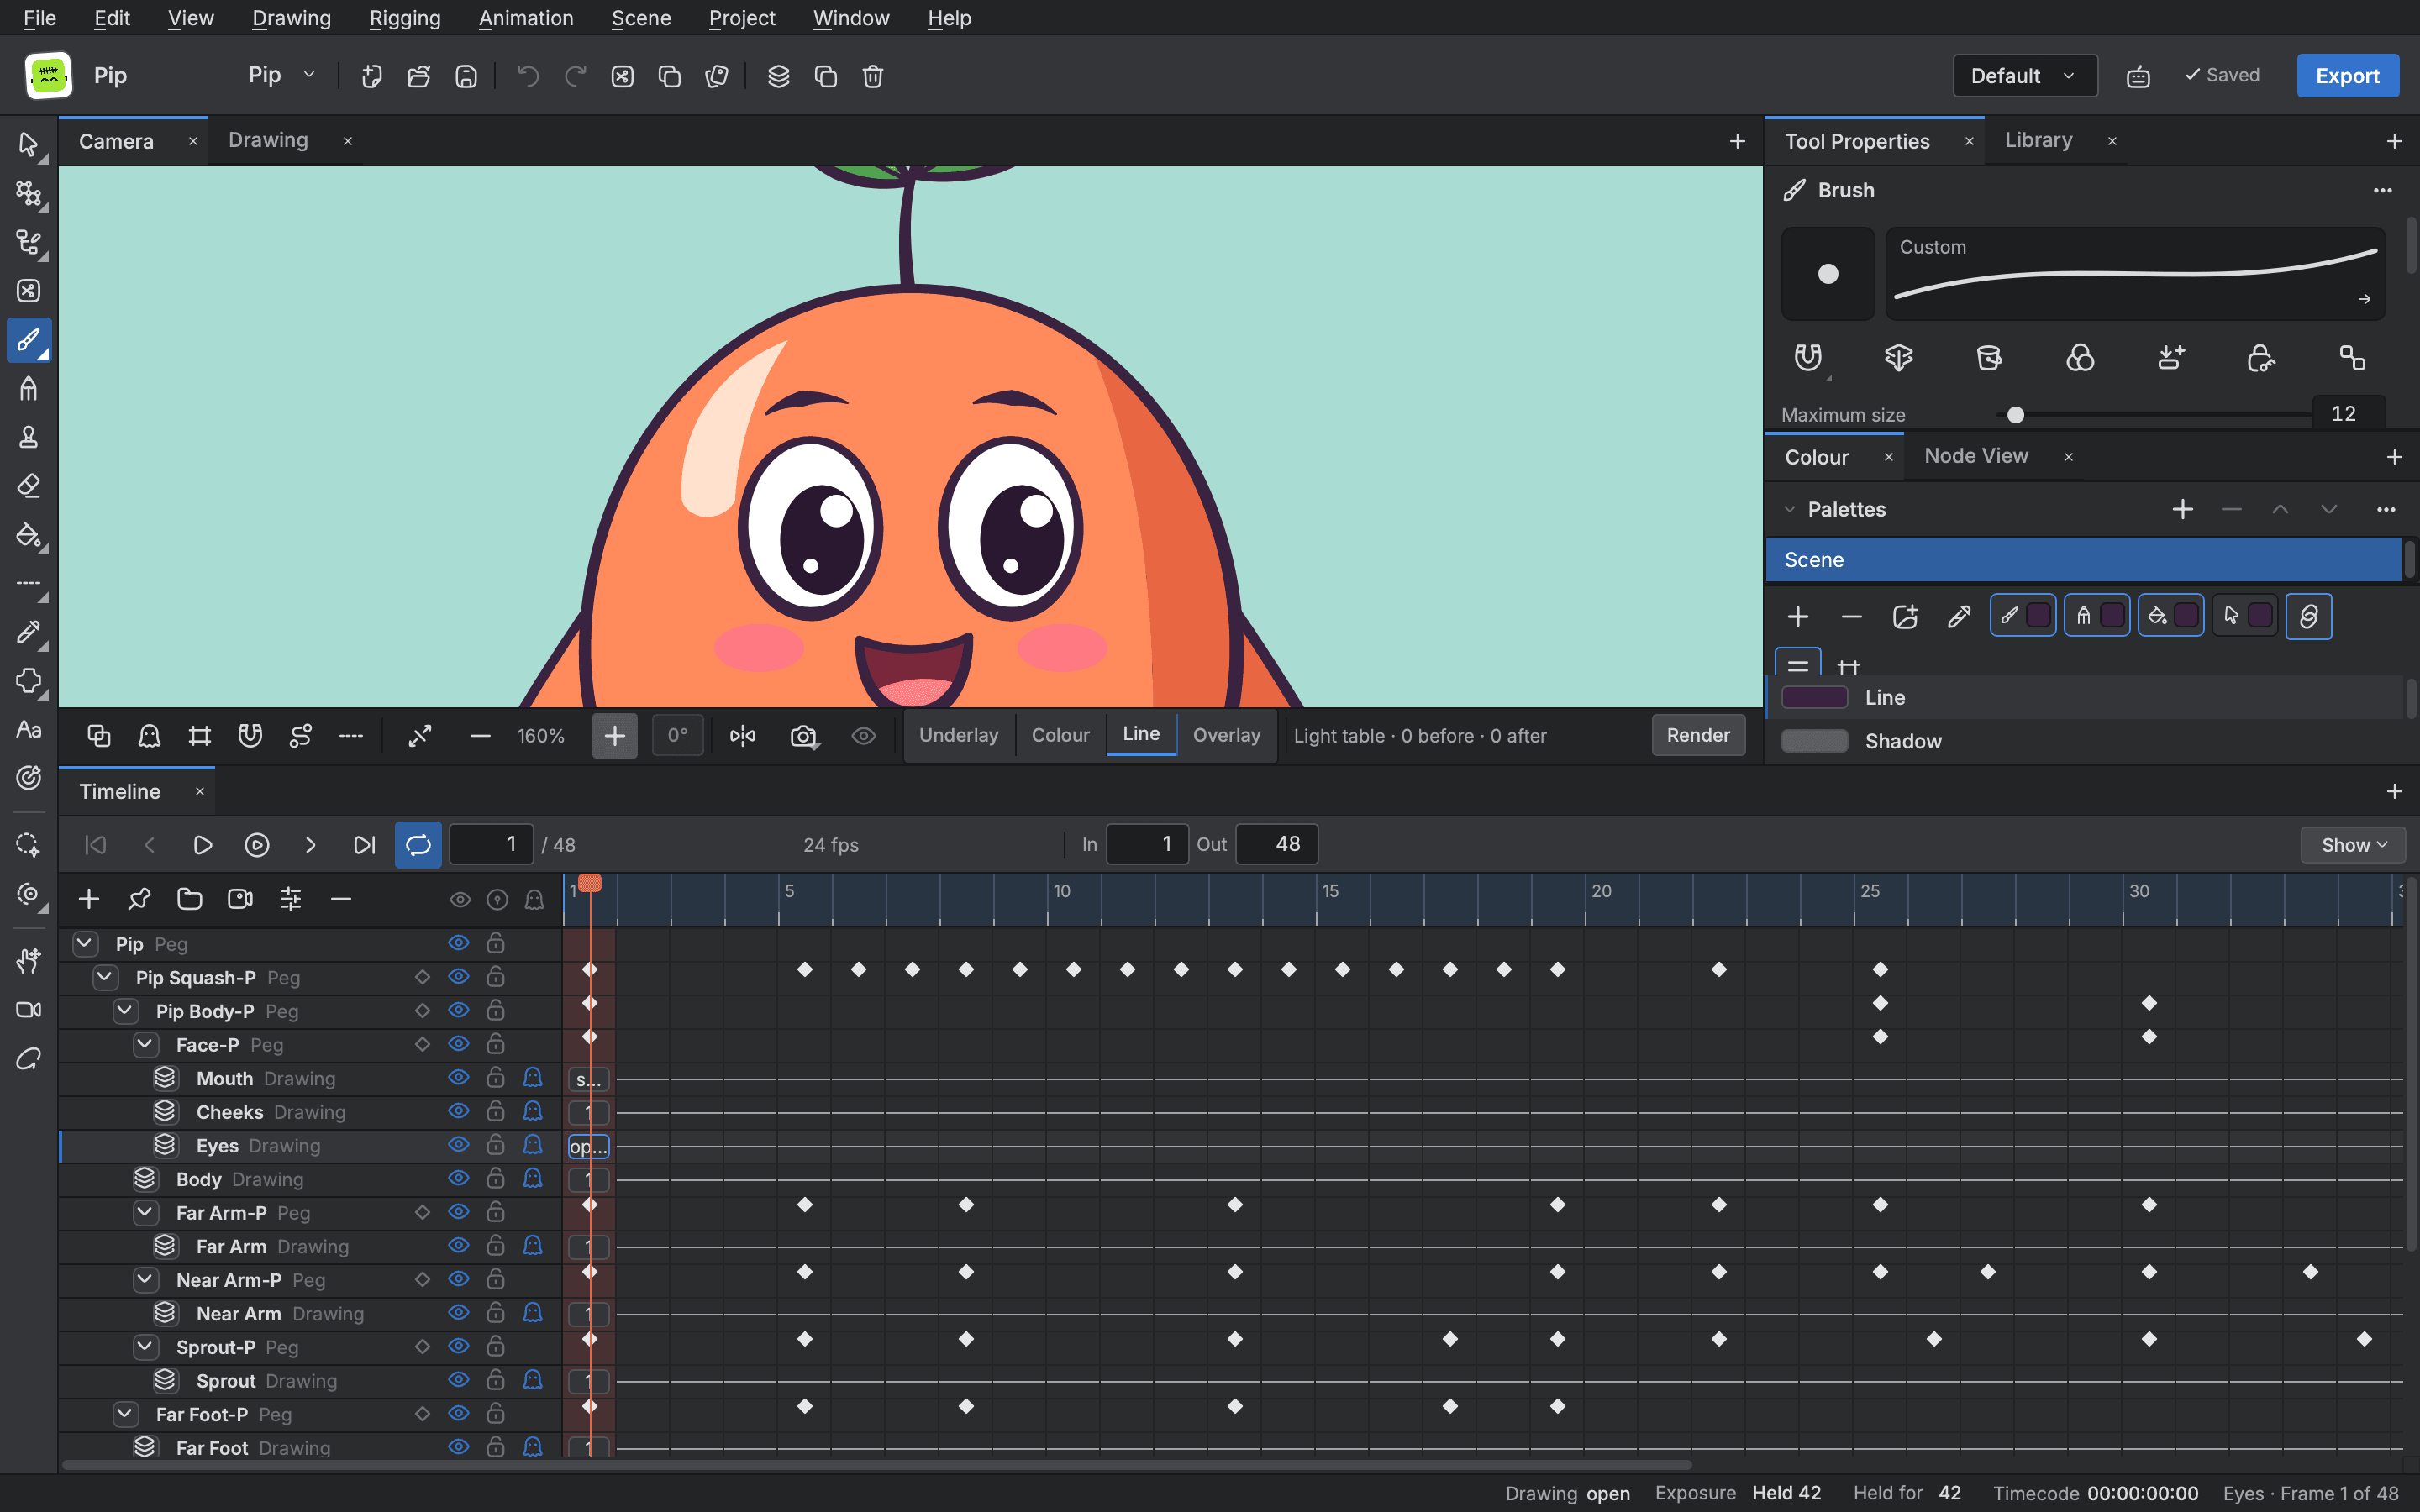
You draw in the Camera view or the Drawing view, with a tool from the rail down the left side, in a colour from the Colour view. This page covers the pens, filling with colour, palettes, the two kinds of layer and the onion skin.
Choose a tool
The tool rail is the column of buttons at the left of the editor. Hold the pointer over a button to see its name and key. A button with a small notch in its corner stands for a family of tools. Right click it, or click the notch, to pick another tool from the family.
These are the tools you will use most, with the keys they have when you first open Buhayin.
| Tool | Key | What it does |
|---|---|---|
Select | V | Picks marks on the drawing so you can move, copy or delete them. |
Brush | B | Draws a filled line whose width follows the pen pressure. |
Pencil | P | Draws an even line along its centre, with start and end tips you choose. |
Eraser | E | Rubs out lines. |
Paint | I | Fills closed shapes with the colour in use. |
Colour Eyedropper | D | Picks up a colour from the drawing. |
Shape | U | Draws lines, rectangles and ellipses. |
Hand | H | Moves the view. |
Zoom | Z | Zooms the view. |
Most tools have a second key too, such as Option+B for the Brush. The Keyboard shortcuts dialog shows both.
Draw your first line
- Choose the
BrushwithB. - Open the
Tool Propertiesview. It shows the options of the tool in hand. SetMaximum sizeandCentreline smoothing. A higher smoothing steadies a shaky line. - In the Colour view, choose a colour (see below).
- Drag on the stage. The line appears as you draw and becomes one undo step when you lift the pen.
- If you do not like it, press
Cmd+Z.
The line goes on the layer and frame you are on, which the Timeline shows. A locked layer refuses it and the editor tells you why.
Brush, Pencil and Eraser
The Brush gives a line that thickens and thins with pressure. Its panel has Maximum size, Centreline smoothing, Flow and Opacity, a row of toggles such as Draw behind and Auto fill, and a list of Presets.
The Pencil draws one even line along its path. Its panel adds Start tip, End tip and Join, each Round, Flat or Bevel.
Both have an arrow on their preview called Edit brush. It opens the rest of the options, such as Dryness, Grain, Hardness, Min size, Curve, Spacing, Scatter and the taper settings.
The Eraser has the same panel as the Brush. On vector art it also has a Tip. Turn on Respect protected colour to leave lines painted in a protected colour alone.
Presets
Under the options in Tool Properties is a Presets list. Pick one to set every option at once. The plus and minus buttons beside the list add and remove presets.
Paint closed shapes
- Draw a closed shape with the Brush or Pencil.
- Choose the
Painttool withI. - Click inside the shape. It fills with the colour in use.
The Paint tool has a Mode. Paint fills. Repaint changes the colour of a fill that is already painted. Unpaint takes a fill away. Paint Unpainted fills only what has no colour yet. While the Paint tool is not in hand, Option+R, Option+U and Option+Y pick Repaint, Unpaint and Paint Unpainted and take the tool up in one press. You can also paint inside a Lasso or a Marquee instead of clicking one shape.
If a fill leaks through a small break in a line, use the Close Gap tool (Option+C) to bridge it, or turn on the Close gaps option and pick a gap size.
Art layers
Every drawing has four art layers: Underlay, Colour, Line and Overlay. Buttons for them sit in the bar under the Camera view. The one that is lit is the one you draw on. Press L to switch between Colour art and Line art.
Colours and palettes
Open the Colour view. It has three parts, from top to bottom.
- Palettes lists the scene's palettes. A palette is a named set of colours.
- Colours shows the colours of the palette you picked, with a toolbar above it.
- The editor opens when you double click a colour.
The toolbar has New colour and Delete colour, a Colour eyedropper, four wells named Brush, Pencil, Paint and Select, a Link toggle, and a switch between List and Swatches.
To pick a colour, click it in the list. It becomes the colour in use for the tool whose well is lit. With Link on, one pick sets the Brush, Pencil and Paint wells together. With Link off, it sets only the well you last pressed.
To change a colour, double click it and use the editor. Everything painted in that colour changes with it.
Manage palettes
Click the menu at the right of the Palettes heading, or right click a palette. Among its commands:
New palettemakes a palette of one colour.Rename palette…,Duplicate…andRemove palettedo what they say.Save to librarykeeps a palette on this computer so other scenes can use it.Add from librarybrings one in.Optimize palettesremoves colours nothing is painted in.
Each change is one undo step.
Vector and bitmap layers
A normal drawing layer is vector. Lines are curves, so you can edit their points, scale them without losing quality and pose them again. Choose Scene > Add layer (Cmd+R) to make one.
A bitmap layer holds pixels, for textured, painted work. Choose Scene > Add bitmap layer. The Brush and Eraser then paint pixels.
Commands for moving between the two are in the Drawing menu:
Convert to bitmapturns the current drawing's vector art into pixels.Convert layer to bitmapdoes it for every drawing on the layer.Change bitmap resolution…sets how many pixels the layer holds.Recolour pixels…changes one colour of the painted pixels to another.Clear canvasempties the drawing.
Repaint, Unpaint and Paint Unpainted work on vector art only. On a bitmap layer the Paint tool only fills.
Onion skin
An onion skin shows the frames before and after the current one faintly over it, so you can judge the motion.
- In the Timeline, turn on the light table for the layer. It is the button on the layer's row, and
Light tableis in the row's right click menu. - Open
View > Onion skinsto add or remove skins.Add One Previous DrawingandAdd One Next Drawingchange how many show on each side. A skin counts frames or drawings, as you choose. - For more control, open the
Onion Skinview from the Window menu. It has a count mode, a colour for the skins before and after the frame, an opacity for each, and an Advanced Onion Skin switch.
The render style, Original Colours, Coloured or Coloured Outline, is in the Onion Skin view's right click menu. Selected Layer Only in the same View menu limits skins to the current layer.
Guides and presets
The Guides view lays a ruler, a square grid, an isometric grid, perspective guides or a symmetry guide over the stage, and you draw along it. Tool presets keep a named copy of any tool's options. They have ten shortcut slots, each with no key until you give it one in the Keyboard shortcuts dialog.