
Animating a rig
Keys, ease, the Function view and inverse kinematics.
Once a rig turns about its joints, animating it is posing: you move the pegs to a pose, key it, move to another frame and pose again. Buhayin fills in the frames between. This page covers keying, easing the motion, the Function view and inverse kinematics.
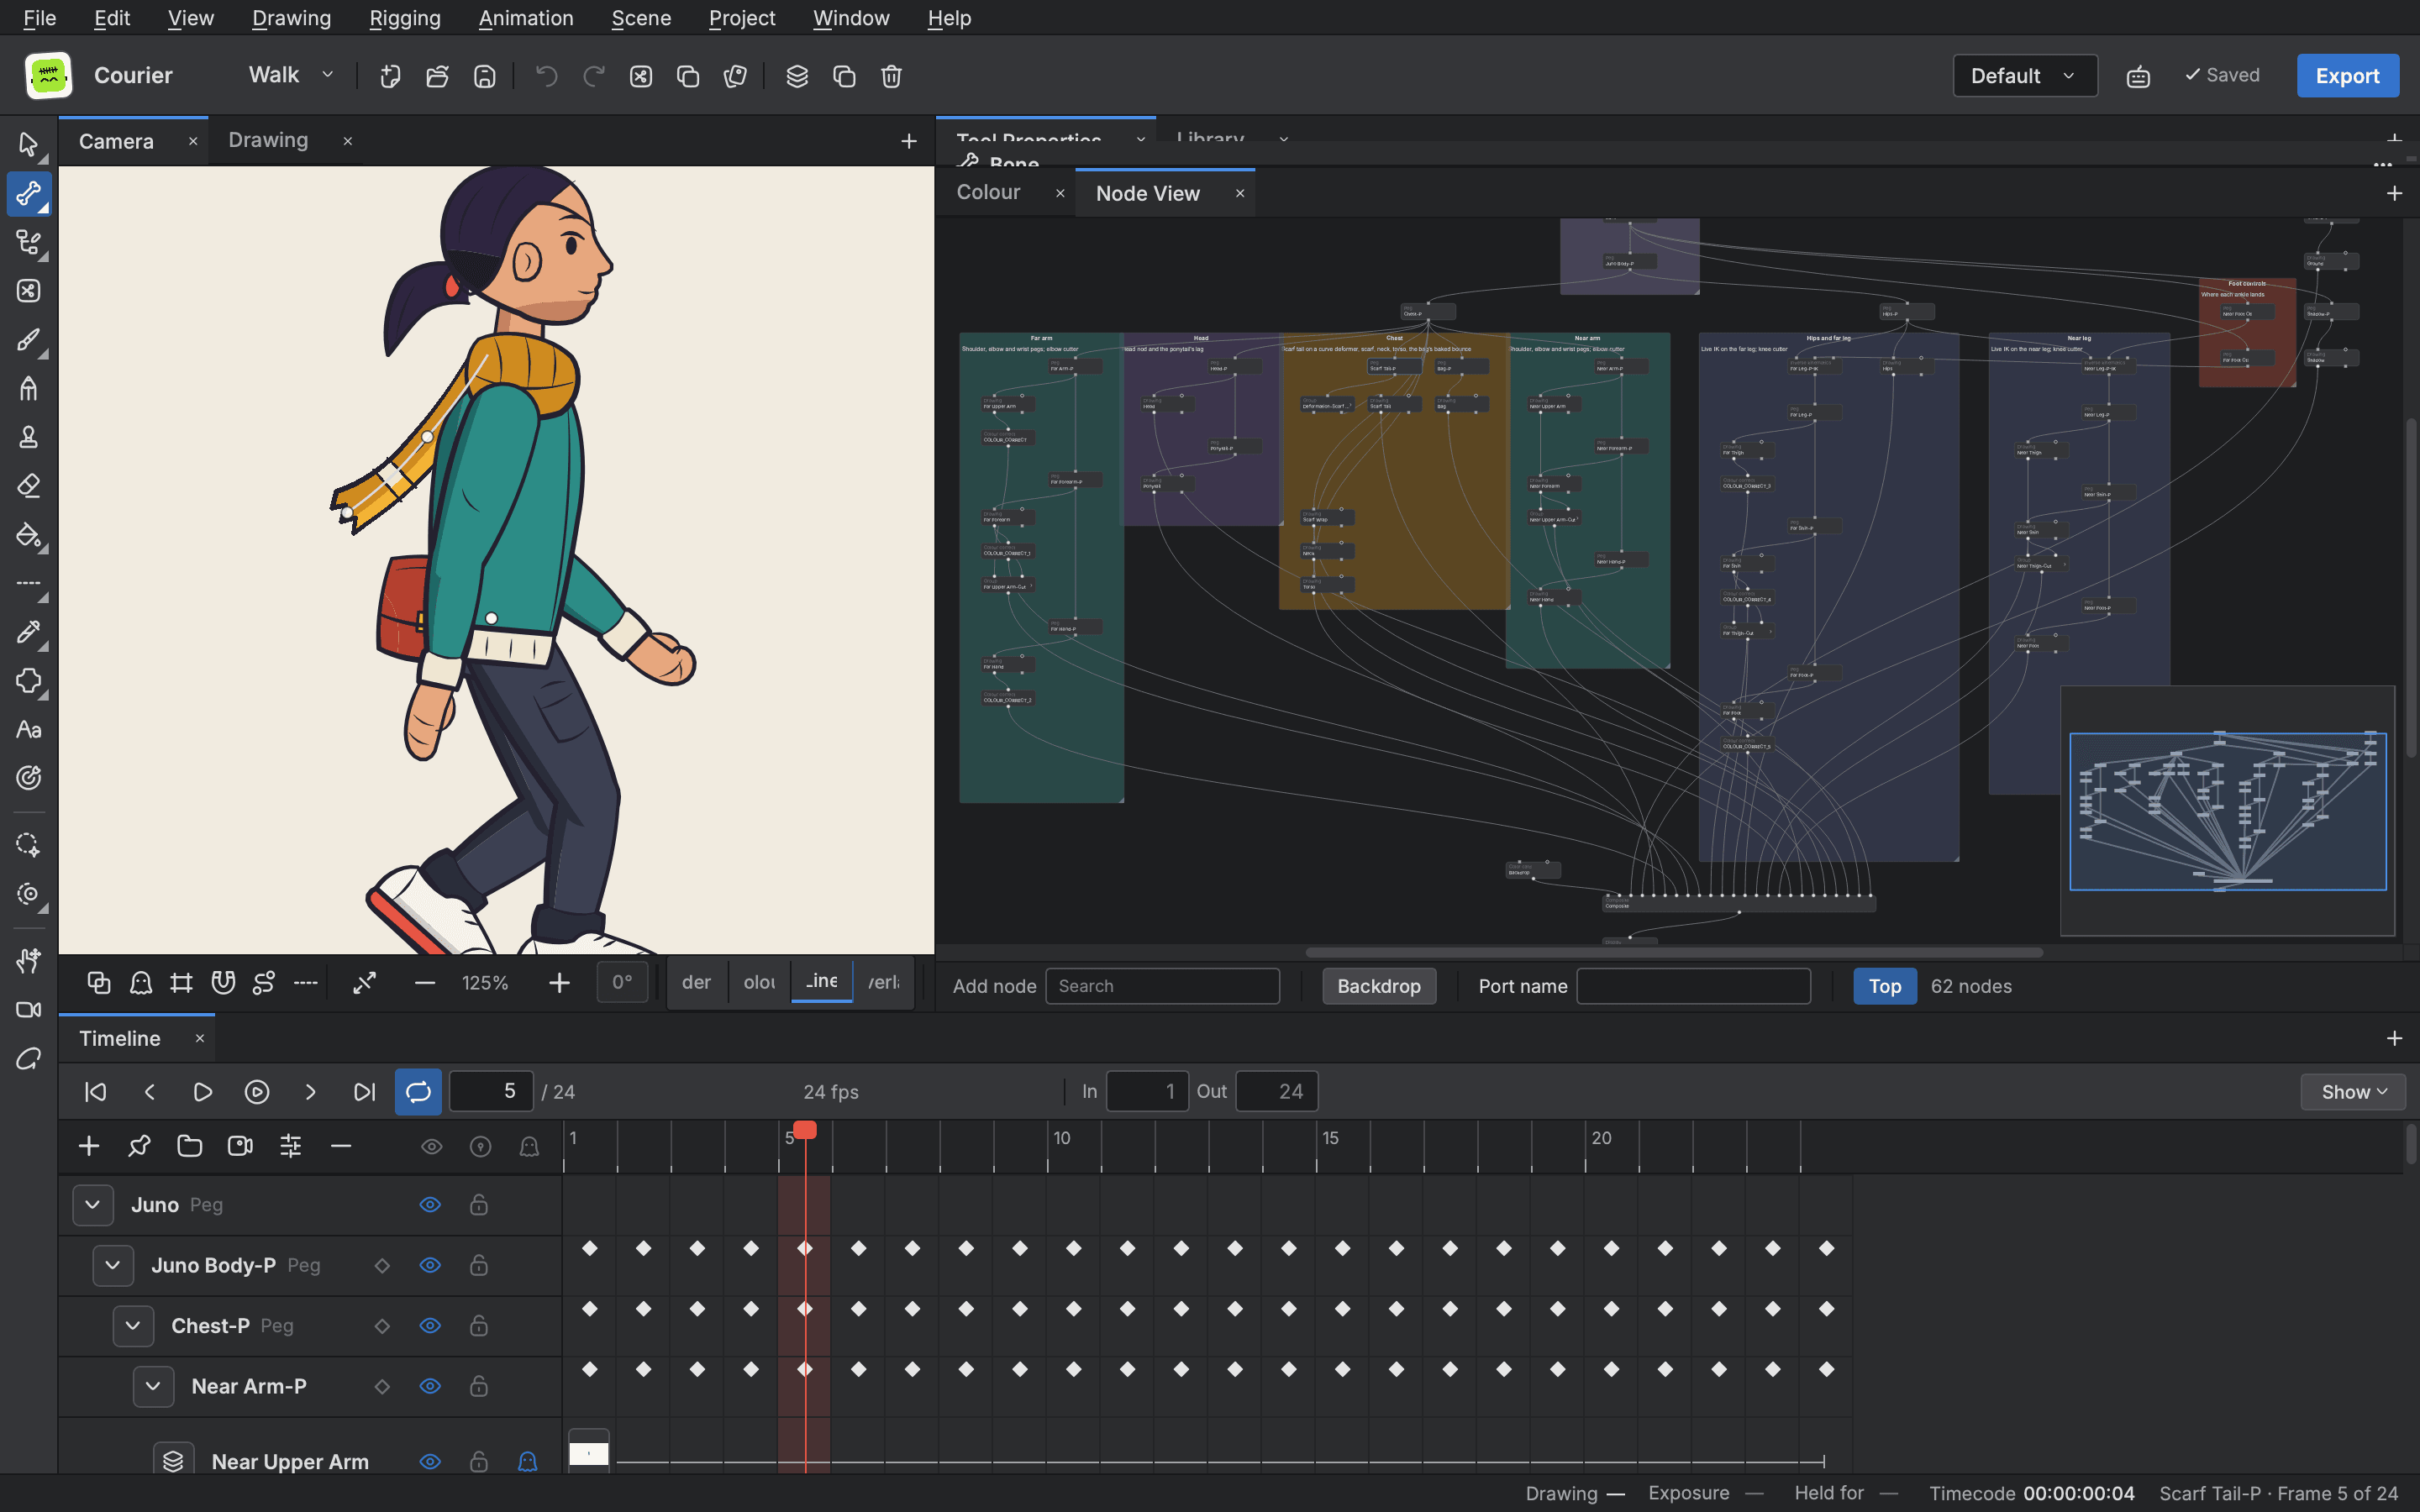
Pose and key
- Open the
Cameraview and theTimeline. - Move the playhead to the first frame of the shot.
- Click the peg you want to move in the Timeline. Its box appears on the stage.
- Choose a tool from the rail:
Translate(Option+2),Rotate(Option+3),Scale(Option+4) orSkew(Option+5). TheTransformtool (Shift+T) does all of them from one box. - Drag on the stage to pose the part. A key is made on the frame you are on, and a diamond shows on the peg's row.
- Move the playhead to a later frame, pose again, and another key appears.
- Press
Spaceto play. The frames between your keys are made for you.
How a drag becomes a key depends on the Animate mode, in Animation > Animate. Animate Current Frame is on when you open Buhayin. A change you make keys the layer on the frame you are on. The other choices are Animate Onion Skin Range and Animate Off.
To make keys without moving anything, use the Animation menu: Key all (F6) and Key position. Reset (R) puts back the part the tool in hand moves, and Reset All (Shift+R) puts back the whole layer.
Keys can also be made from the Timeline. Cmd+K sets a motion key on the selected layers, and Cmd+L sets a stop motion key, which holds its value until the next key and is drawn dark red. F7 deletes a key. With the Stop-Motion Keyframe Mode item in Animation > Keyframes ticked, every key you make holds its value until the next one, which gives the stepped look of drawn animation.
To jump from key to key, use Animation > Previous keyframe and Next keyframe (; and ').
Work in poses first. Key the big shapes of the action, play it, and only then add the small poses between them.
Ease the motion
By default, a value changes at an even pace between two keys. Easing makes it start slowly, finish slowly, or both.
- Select one or more keys in the Timeline. Click a diamond, or drag across several.
- Right click a selected key.
- Choose
Set Ease Typeand pick one of the ten ease types, or chooseSet Ease on Selected Keyframes…and type an Ease in and an Ease out as percentages.
A box left empty means the selected keys differ.
To set the ease of every parameter of a layer at once, choose Animation > Set Ease for Multiple Parameters…. The dialog stays open. It shows the curve and lets you drag its handles. Filters for Motion, Rotation, Scale, Skew and Other choose which parameters an Apply reaches, and Apply / Previous and Apply / Next carry on to the neighbouring segment. Apply Ease to Selection in Animation > Keyframes applies an ease to the selected keys.
The Function view
The Function view is a curve editor. Open it from the Window menu.
It lists the channels of the current layer, such as X, Y and Angle, with their values on this frame. Each channel is drawn as a curve over a ruler of frames. A key is a point on the curve, and a selected key shows its handles.
What you can do here:
- Move a key. Drag its point. It moves in time and value together.
- Change an ease. Drag a handle. The handle's length is the ease, and its angle is how fast the value arrives and leaves.
- Type a value. Select a key and type its frame and value in the bar under the graph.
- Choose what shows.
Show Motion,Show Rotation,Show Scale,Show SkewandShow Othershow or hide a whole kind of channel. - Fit the view. The bar under the graph has Fit and Normalise buttons.
- Lock a point.
Lock/Unlock Pointputs a ring on a key. A locked key cannot be dragged, eased or typed over, though it can be deleted. - Hold a segment.
Toggle Stop-Motion Segmentholds the value between two keys.
The graph has its own keys while it has focus.
| Key | What it does |
|---|---|
Cmd+C, Cmd+X, Cmd+V, Cmd+A | Copy, cut, paste and select all keys. |
G | Show or hide the grid. |
I | Insert Point: keys every shown channel at the playhead. |
' and ; | Select the next and previous key. |
[ and ] | Select the left and right handle of the selected key. |
The keys are the same ones you see in the Timeline. Selecting a key in one view selects it in the other, and every change is one undo step.
Inverse kinematics
With ordinary keys on pegs, you pose a limb from the top: turn the shoulder, then the elbow, then the wrist. Inverse kinematics, or IK, works the other way. You drag a hand or a foot, and the limb finds the angles itself.
The Bone tool does both jobs. Take it with Rigging > Rigging Tool or Shift+I.
- Select the Bone tool and open
Tool Properties. - Under Mode, switch on
Setup Mode. The Skeleton section appears. - Choose
Automatic Setup. It builds a skeleton from the pegs, drawing layers or deformers you choose withShow Pegs,Show Drawing LayersandShow Deformers. Or pick the first joint and pressSet Root Jointto make one by hand. - Turn Setup Mode off.
- Under Mode, choose
IK Manipulation. The commandInverse Kinematicstakes the Bone tool in this mode. - Drag the tip of the limb, such as a hand. The joints above it follow.
Pin and limit a joint
The Rigging > IK Constraints menu holds what keeps a limb under control. Each applies to the layer you have selected.
Set IK Nailpins the joint in place while the rest of the chain is pulled.Set IK Hold Orientation,Set IK Hold XandSet IK Hold Ystop a joint turning or sliding.Set IK Min AngleandSet IK Max Anglelimit how far a joint may bend, from the angle it has on the frame.Remove All Constraintsclears the nails and holds from every layer in one undo step.
The Bone tool's panel also has an Ease Shape list, which is the ten eases a key has, and tuning controls: Max Iterations, Translation Resistance and Enable Shadow Posing. Leave them alone until a limb behaves badly. A higher Translation Resistance value lets the root slide more easily.
Check your work
Press Space to play the shot, or open the player with Animation > Render and Play, which renders the range ahead and plays at the scene's rate with the sound. Look for jumps in a limb and for motion that arrives too evenly. Open the Function view to find the key that causes it, and fix its ease or its place in time.